Resources
Overview
A good website is essential to not only providing visitors with the information that they need about your association, but also to leaving a good first impression on your potential members. Most people are naturally skeptical any time they venture onto an association website for the first time, which is why it's important that your website reflects positively on your association. One way you can do this is by dedicating one of your web pages to member testimonials.
Testimonials
Our GZCMS WordPress site is everything that we could ask for! We love the Vista theme.
![]()
GrowthZone provided us with so many choices to design a fabulous new website. The team was easy to work with and met all of our needs!
Add a Testimonial
- For the page on which you wish to put your testimonials, click Edit Page in the header bar.
- Click the + in the header bar.
- From the Modules tab, drag and drop Testimonials to the desired location on your page.
- On the Items tab, add your testimonials:
- Click the Edit Testimonial link.
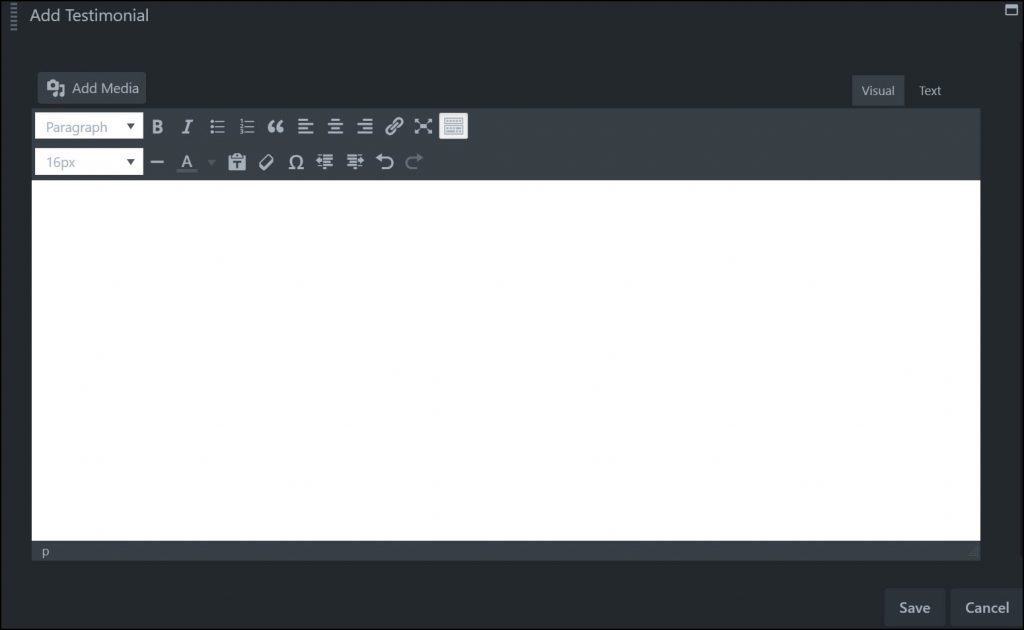
- On the Edit Testimonial page, enter the desired text. See our Text Editor article for information on working with the editor.
- Click Save.
- Click the Edit Testimonial link.
- To add additional testimonials, click the Add Testimonial button and complete step 4 above.
- Once you have added your testimonial content, you can configure the slider settings on the Slider tab:
- Auto Play: This will default to Yes, and ensures that your testimonials will rotate on their own. If this is set to No then visitors will manually need to move to the next testimonial.
- Delay: This setting allows you to set the delay on the first testimonial
- Transition: The animation the slider will use when transitioning. You can choose a nice fade or a clean scroll (slide).
- Transition Speed: Set the duration of each testimonial in the slider.
- Transition Direction: This setting allows you to set the slide transition "wipe" to go from right to left, or left to right.
- On the Style tab, you can configure the display aspects of your slideshow:
- Layout: Choose Wide for a one column row or Compact for multi-column rows.
- Text: In this section you can configure the font type and typography options.
- Dots: You can choose to enable dot pagination, which allow a user to navigate between pages. If you elect to use dots, you will be able to define the color of the dots.
- Once you have completed all of your settings, click Save.