Videos
Editing the Menu Appearance
While the actual titles and dropdown links are managed through the Dashboard back-end as outlined in the videos and step-by-step guide below, your site header's logo and menu styling/appearance are generally edited using the Page Editor or Customizer settings for the Header (depending on your theme layout).
To determine how to edit your header appearance only (not the contents of your menu/dropdowns), hover over Page Editor in the black bar at the top of your site.
- If you see a "Header" or "Global Header" option in the dropdown, select it and use the Page Editor tools to adjust your header styling. Learn about using the Page Editor tools here.
- If you do not see any options in the dropdown related to a header, click on "Customize" in the black bar at the top and use the Customizer global settings to adjust your header styling. Learn about the Customizer here.
To edit your site's navigation menu
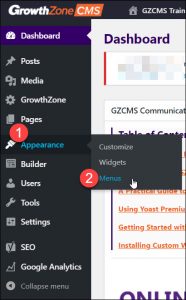
- In the header bar, hover over the name of your website and select Menus from the dropdown:

OR click the name of your website or the Dashboard link, then hover over Appearance in the left menu and select Menus.
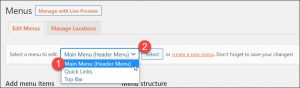
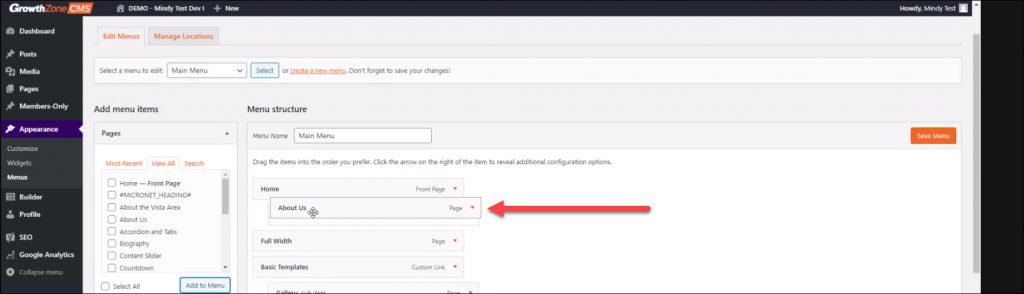
- Ensure you are editing the correct menu; find the Select a menu to edit option and choose the appropriate menu from the dropdown (generally, your main menu will be noted with (Header Menu), but you may have multiple menus available). Click Select to edit the desired menu.
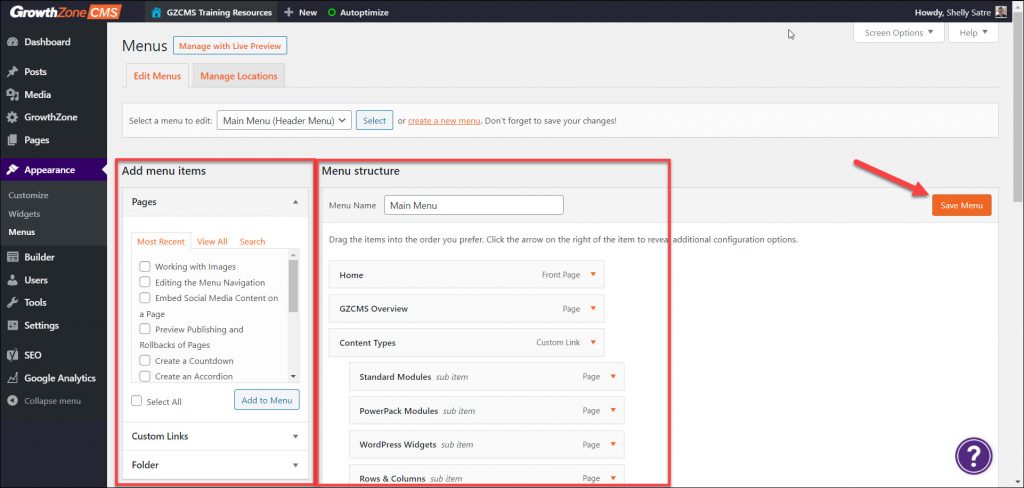
- There are two panels in this area: An Add menu items panel on the left, and Menu structure on the right. From this area you can add a page to your menu, add a link to your menu, or edit/remove items from the menu. Don't forget to click the Save Menu button after you make any changes!
To add a Page to the menu
- Use the options in the Add menu items panel:
- Most Recent will list the most recently created pages from newest to oldest
- View All will list ALL pages in your website
- Search will allow you to search for a specific page by title
NOTE: To add a new page to your navigation, that page must be created first. See the How to Create a New Page and Add to the Menu video for those instructions.
- Once you find the page you wish to add to your menu navigation, enable the checkbox next to the page name and click the Add to Menu button.
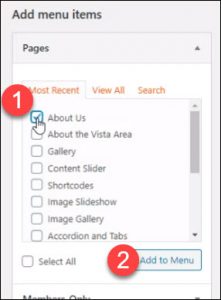
This will add the page in the last position of the Menu structure panel.
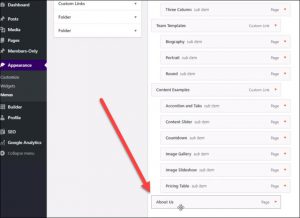
- Click and hold the newly-added page and drag it into the correct position. Take note of any "nested" menu items and place the new page link appropriately.
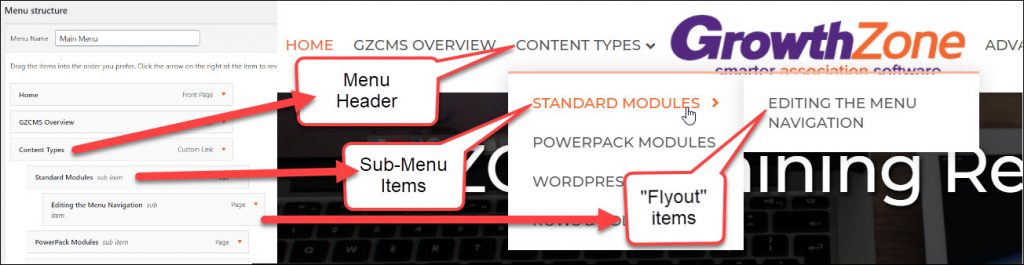
Items farthest to the left will be a main menu bar item; indented items will appear in a dropdown menu; items indented further will appear in a "flyout" menu.
- Click the Save Menu button when done to save any/all changes to the menu. This should update your website's navigation bar immediately (you may need to clear your browser's cache if you do not see the changes).
To add a Link to the menu
- In the Add menu items panel, click Custom Links to expand that section.
- Type or copy/paste the link you wish to add to your menu.
- Type the text of how you wish the link to appear in the menu.
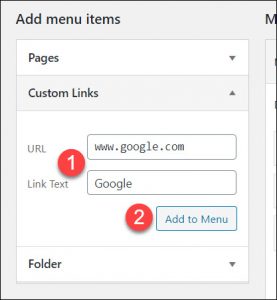
- Click the Add to Menu button. This will add the link in the last position of the Menu structure panel.
- Click and hold the newly-added custom link and drag it into the correct position. Take note of any "nested" menu items and place the new link appropriately.
- Click the Save Menu button when done to save any/all changes to the menu. This should update your website's navigation bar immediately (you may need to clear your browser's cache if you do not see the changes).
To edit or remove a link/page from a menu:
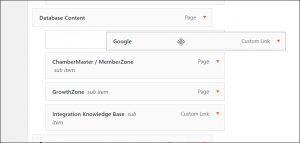
- In the Menu structure panel, find the link/page/menu item you wish to remove.
- Click the small arrow to the right of the menu item to expand the item options.
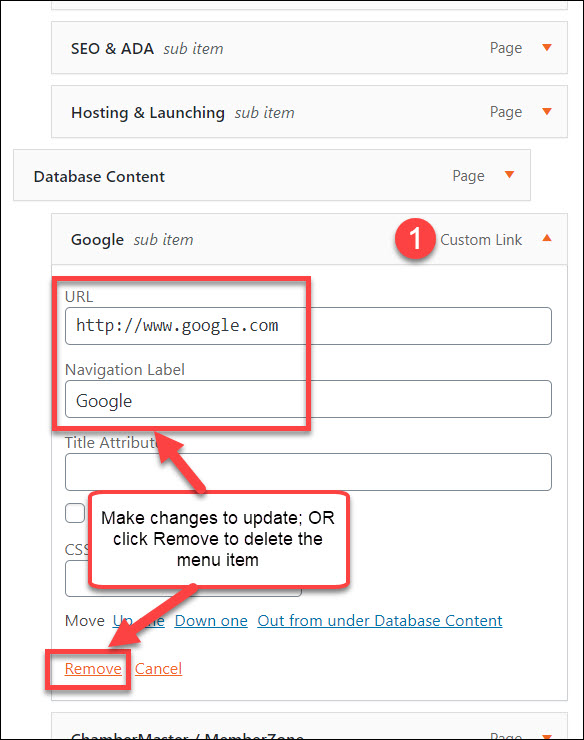
- If editing an item, make any desired changes to the menu item as needed.
- If removing an item from navigation, select the Remove link at the bottom of the panel.
- Click the Save Menu button when done to save any/all changes to the menu. This should update your website's navigation bar immediately (you may need to clear your browser's cache if you do not see the changes).
Edit a Menu Link
- In the header bar, hover over the name of your website and select Menus from the dropdown:
OR click the name of your website or the Dashboard link, then hover over Appearance in the left menu and select Menus.
- Ensure you are editing the correct menu; find the Select a menu to edit option and choose the appropriate menu from the dropdown (generally, your main menu will be noted with (Header Menu), but you may have multiple menus available). Click Select to edit the desired menu.
- There are two panels in this area: An Add menu items panel on the left, and Menu structure on the right. From this area you can add a page to your menu, add a link to your menu, or edit/remove items from the menu.
- In the Menu Structure panel, click Custom Link for the menu item you wish to change.
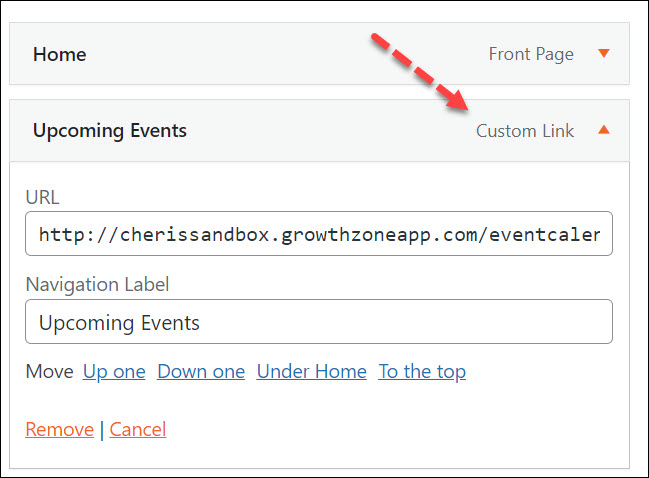
- Enter the new URL
- Click Save Menu
FAQ: What if I am missing options under the menu screen?
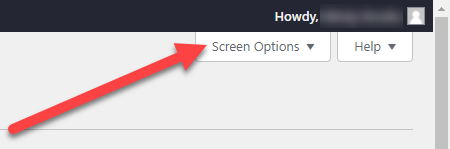
If you do not see all of the options mentioned above, such as the "Open link in a new tab" checkbox, you may have some settings hidden from your default view. When editing the menu area, click on the "Screen Options" tab in the top right corner of your screen (just below the "Howdy <username>" message) to view other options you can enable.
We recommend enabling the following options from this selection:
- Pages
- Custom Links
- Link Target
